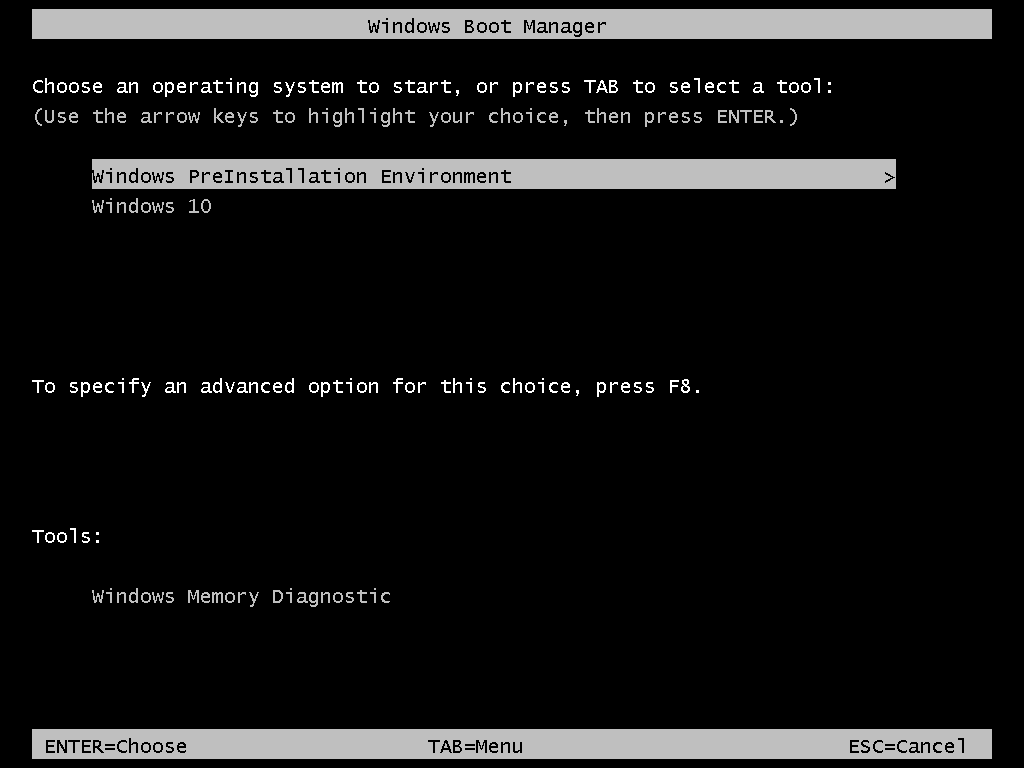
Installing Windows PE (Preinstallation Environment) on your HDD/SSD can be an alternative to creating a bootable USB flash drive. Assuming that Windows is installed and running, you can easily install Windows PE for future use without any third-party tools. By installing Windows PE into a virtual disk, you do not need to modify existing partitions on your HDD/SSD.
The following commands need to be run in a console with Administrator privileges:
Windows11_Client_x64_en-us_26300_9457.iso) and mount it in File Explorer. This tutorial assumes that the .iso image is mounted to the D:\ drive.
diskpart.exe to create a virtual disk:
create vdisk file="c:\pe.vhd" maximum=2000 type=expandable
attach vdisk
create partition primary
format fs=ntfs quick
assign letter=p
exitboot.wim image to the virtual disk:
Dism.exe /Apply-Image /ImageFile:"d:\boot.wim" /Index:1 /ApplyDir:P:\
Dism.exe /Image:P:\ /Set-TargetPath:X:\bcdboot.exe P:\windows /dDism.exe /Image:P:\ /Set-InputLocale:de-de
Dism.exe /Image:P:\ /Set-UserLocale:de-deWhen the system starts, you can now boot directly to Windows PE:
Use these commands to remove Windows PE:
del c:\pe.vhd
bcdboot.exe /bcdclean full
This will delete the virtual disk and remove the Windows PE boot menu entry.